Sunday, December 20, 2009

Holiday Decor

Hey!

So, for the holidays, I like to do decor that is holiday-orientated, but not full of pre-fabricated holiday decor. I wanted to keep the decorations consistent w/ the same color themes of the room, but also make them holiday-like! Also, I wanted to continue to use the mirror and apothecary jars. My goal is to see how they look for four seasons!

All of the ornaments in the jars are from Michael's and Pier 1 Imports. The pearl garland and candles are from Michael's as well.


And I had to throw this photo of my lovely Callie enjoying the first big snow storm of the season. She loves frolicking about in it!

Monday, September 28, 2009

Operation Organization!

Let me preface by saying: I'm not a neat person at the core. Because staying neat & tidy isn't really my strong point (I have a tendency to just leave things everywhere), I have to be rather diligent at putting things back where they belong. These systems have helped me!

So, today I took some time to revamp my organization in my hall closet. It wasn't terribly messy, but it was certainly time for an overhaul and some more tools to keep me organized. I purchased the tall & skinny rubbermaid drawer organizer recently and today finally filled it up. I labeled the drawers & sorted all of the toiletries into their respective locations. Here are the final results.


Oops! Labels a little crooked! Oh well!
Another project I did after moving into my new home: my necklace system. I did this in my old home & found it was sooo helpful in figuring out what necklace to do with my outfits (I keep earrings in a separate hanging system in the closet next to the necklaces). I have to constantly remind myself about putting necklaces back in their correct locations at the end of each day. (I used those Rubbermaid double-sticky safe removal hooks & organized by color with the necklaces).


What are you organization tips & systems!?!? Share!

Monday, September 21, 2009

Fall Decor...

Fall is my favorite season....I love the crisp, cool, and dry air (mainly cuz I have good hair days! lol) and I love the scents!!! Oooooh, I love burning apple, pumpkin, and harvest scented candles all day long during the fall!

If you recall, I don't have a fireplace, but I love the look of a decorated mantle. So, over the summer, I installed a 6 foot shelf from Ikea (the Lack® series at a GREAT $29.99 each!) and it is sort of my makeshift "mantle." (PS, I just looked up the spelling of mantle and I guess it can also be mantel! Cool!)

Anyway, I wasn't thrilled with decorating with yellows, oranges, and reds for the fall season in my living room since it's bright greens, yellows, and magenta/pinks...So, I went with a green apple, white, and nature-inspired look. Here is the finished product:


Everything, including the apothecary jar fillers (which I made into a mixture of plain green apples, birch bark, and pine cones were bought as separates), except for the little green bird (Pier 1), clock (Pier 1), and white vase (Ikea), was all purchased at Homegoods.

Close up views:

That's it for now!!!

Wednesday, August 5, 2009

Craft Room / Home Office is Taking Shape!

So, it's all still a work in progress, but teachers report back to school on August 25, so I have vowed to finish this room before I am back to work!

I had 4 white Lack floating shelves from Ikea in my previous home, and this is the perfect room for the shelves in the new house! So, yesterday, I installed 2 of them (oh, it's so fun getting them level!!) and then I installed an Ikea "Bygel" bar w/ some Ikea hanging tin cups for markers, pens, glue sticks, and scissors.

Almost 2 full walls done pretty much.....2.25 walls to go!


Here is a close-up of the bar & hanging cups (see below for how to buy these!)

Here is the next wall. I am going to put some art between the shelf and the ribbon rack.


I made a ribbon organization system using a dowel from Michael's (I spraypainted it white) and then used two curtain rod brackets I bought at Home Depot for a cheap price and then rested the dowel in the brackets. Here is a close-up:


Here is a metal knife rack from Ikea I'm using as a rack to hold magnetic jars full of office supplies. Love it! Easy to install!


Shopping List:
Ikea Lack Shelf in white, $19.99 (Click here for link!)
Bygel Bar, $1.99 (Yes, only 2 DOLLARS!!!) (Click here for link!)
Kroken cutlerly caddy, $3.99 each, (Note, these aren't really a good fit for teh Bygel bar, their hooks don't reach around the bar....but I didn't want to return them, so I pried the hook open wider with a hammer to allow them to fit around the bar!) (Click here for link!)

Wednesday, July 29, 2009

Not Knotty Pine!?!

No, not for me....

It was a tough decision to redo the knotty pine walls in my 3rd bedroom of my new home. It's the only room with paneling and it's the smallest...go figure! I want the room to be my home office/creative zone....I need a place to grade papers and do some lesson planning as well as make the many crafty things I enjoy!

So, lots of people came into my house saying how much they loved the pine, "It's like a ski lodge!" they'd say......or they'd say "Do you know how expensive that was when they put that up!?" or "Wood is sacred, you can't paint that!" But, hey, it's my house and I was totally not feeling the wood!

The process began.....let me preface this with that I didn't use regulation goggles....my sunglasses had to do since i forgot to buy goggles. Also, I've NEVER ever done a paint effect before. This was my first try and it was pretty easy and it was actually the easiest step of the process! The priming was the hardest because the primer is thick and was tough to get into the grooves between each panel.

1. Sand w/ rotary sander. PS, wear goggles & mask......so much dust. I didn't wear a mask at first and I was suffocating and blinding myself (saw dust stuck in my eyelashes!!)


2. CLEAN up all of the saw dust!!!

3. Prime the walls with an oil-based primer. The wood soaks it up better than latex. It stinks. You will be high. Wear a mask here as well! Keep the room ventilated as best as possible. I did 2 coats of primer. The toughest part about priming was the fact that I had to use brush to get into the tongue & groove joints between each panel. AYE!!! I also primed the baseboard, crown moulding, door frames and doors.

4. Then, I did a coat of Sherwin Williams "Medici Ivory" which was a real classic ivory that reminded me of French Vanilla ice cream as I was painting. I only needed one coat.

5. Then, I mixed a quart of Glidden's "Soft Suede" paint with a half a gallon of clean glaze. (in a separate mixing bucket)


6. I used a wispy brush & very little paint to apply burts of the paint/glaze mix. Then, I brushed until the brush was dry and then wiped the color around in inconsistent locations....thicker coverage in others, more bare & translucent in others. This went fairly quick---I was done with this step in about 20 mins!


**This is what it looked like after I had finished the paint effect, but still had to do the moldings..


7. Paint the trim other white moldings w/ 2 coats of semi-gloss white. Also, I will be painting all of my interior doors white eventually, but this room is getting the ball rolling! I painted the closet door white on both sides and left the hallway door wood on the hall side for now--so I don't have one white door in the hall for a month until I get the courage to start that project.....I'm all set w/ painting right now! Do you see how my doggy is so sad I'm in here painting all day!!


8. Done! (I have to have someone come over 7 help me remount the doors and then move a furniture into the room, so until then, the room is "done" but not decorated.)

Before & After!!


Wednesday, July 22, 2009

What's in a name?

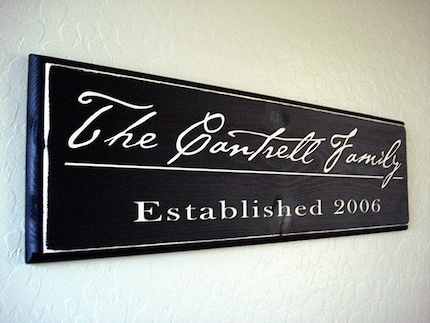
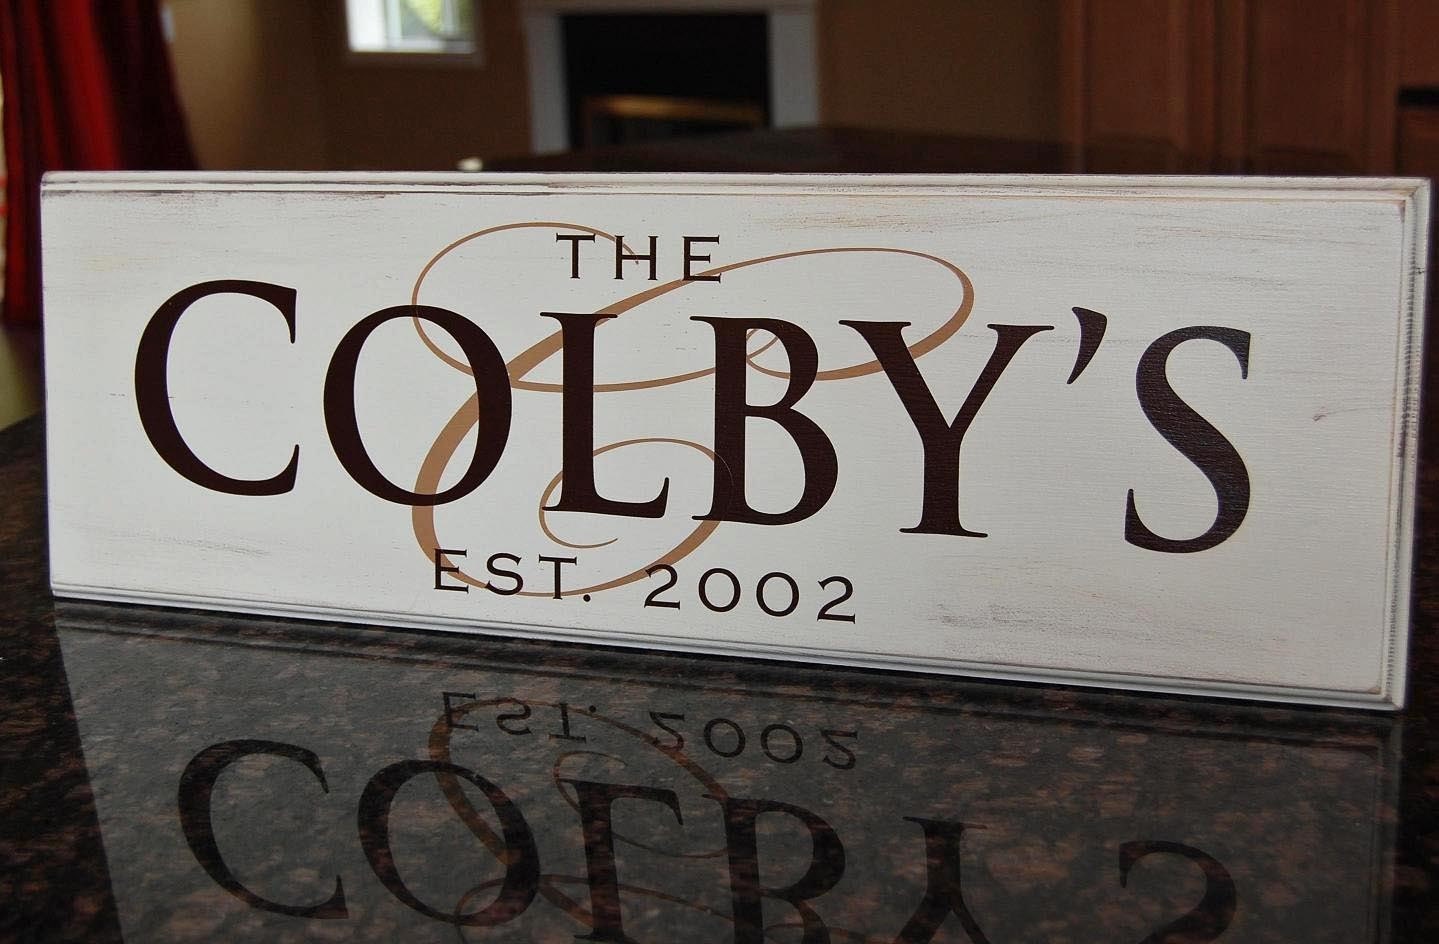
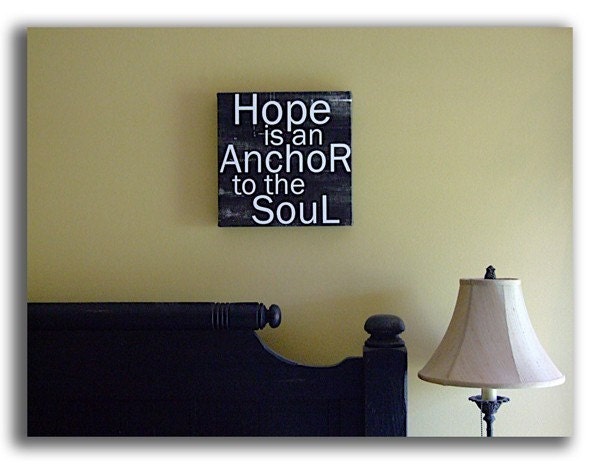
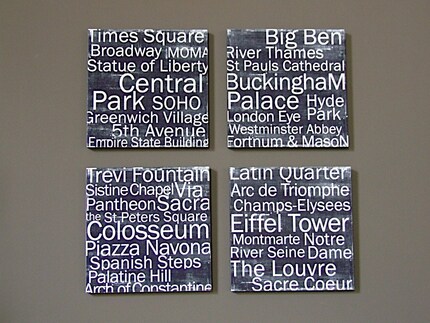
Here are some great Etsy vendors that will help personalize your home's space with their wonderful creations!!!

I started a little gift-giving tradition of my own with these sellers....I buy one their signs for my friends for wedding gifts. I try to go with the seller that would suit the couple's style.

Click on the designer's logos to visit their shop!

1. Java Jane Designs:


2. Off Woodland Way:


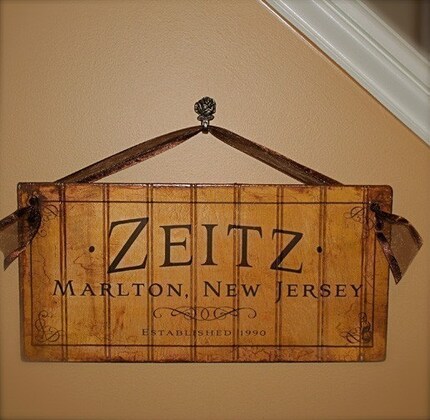
3. Mary Beth Zeitz:


4. Bosheree


Enjoy!!!

Tuesday, July 21, 2009

Hold up, so cool....

Check this out!

I was on my new favorite blog, The Lettered Cottage.....and I saw the link to an great Etsy shop with cool wall art.

Check out some of the great wall art ideas at: Red Letter Words on Etsy


Cool, huh?!

Monday, July 20, 2009

Where Art Thou? Art on AllPosters.com

Here are some fun floral pieces of artwork for your home! I like florals, but ones that are a little more abstract or "messy" looking.....a trick I've learned when hunting for art on allposters.com (a site I love!)---never shop without a coupon code (sign up on their site w/ your email and you'll always be in the know) and when you find a piece you like, click on the artist's name, you'll find the artist's whole collection and possible complimentart prints or some prints you like even more!

Happy flower picking! PS, click on the pics to link to their page on allposters.com


(I have this black, red, and white one above in my bathroom)

Sunday, July 19, 2009

What's new at Pottery Barn!?

They have a new vintage-inspired line for the latter half of the summer...

Here are some things I'm sure many customers will lust over!

1. Monticello Floor Lamp, $150

2. Danville Mica Pendant Lamp, $399
3. Circles Wall Mounted Sconce, $119


4. Floorstanding Frame, $129
5. Harvest Double Sink Console, starts at $2400, (Um, I LOOOOOVE this, but wouldn't have the $ for it.....ever!)